Monday, August 1, 2011

Shaving cream fun!

The other day we played with shaving cream!  Our activity was very simple- I just put a little shaving cream in a large bowl and let Charlotte play around in it.  She wasn't too sure about the texture, but it was fun. :)  I was surprised that she didn't want to get more messy, but I guess I shouldn't complain about that!


We also found a recipe for bath paint that we just had to try- love this! 


from meetthedubiens.blogspot.com

I simply put 1 drop of food coloring for each batch of paint, and I was happy that I only used one drop.  You still get the beautiful light colors and I felt better about it going in our bathtub.  Charlotte had alot of fun with this one!  We created just 3 colors- perfect for a 1 year old!


Here are some other activities to try that involve shaving cream!
Create art using paint and shaving cream!  from littlewondersdays.blogspot.com


another adorable art project - from oopseydaisyblog.com


This looks like a TON of fun!  from jeannewinters.blogspot.com


Friday, July 29, 2011

Footprints and cheerios

I had alot more planned for today than actually got accomplished, but I'm okay with that.  I'd rather have more things to do in mind than nothing at all!  It's hard when you're about 7 months pregnant and beginning to feel tired allll the time.  Anyway, this is what we did have time to do:


from confessionsofahomeschooler.com
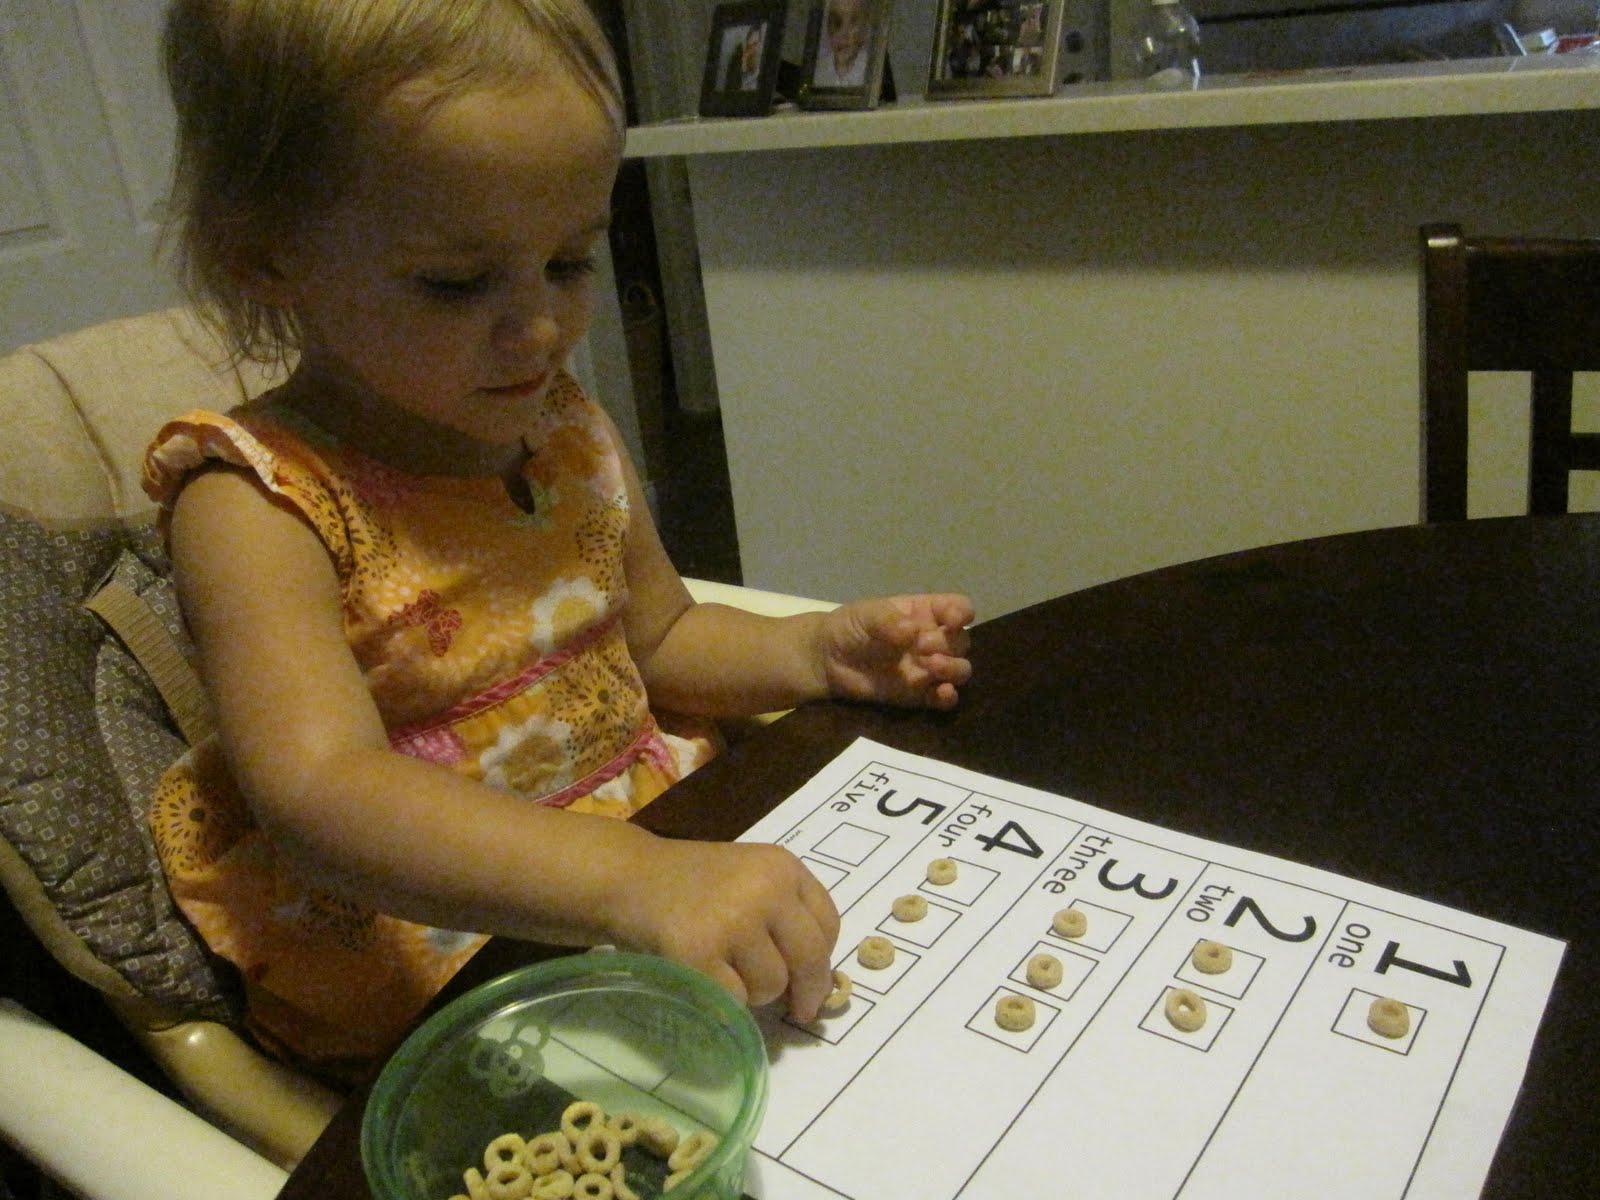
I printed out this fun counting activity, but we used cheerios instead of the poms (I didn't have any).  Next time I think i'll go out and get the poms though, because Charlotte kept eating the cheerios before we could finish counting!  Ah, the attention span of a 20 month old :).  But, she did have some pretty good success counting, especially on the numbers 1-5 page!


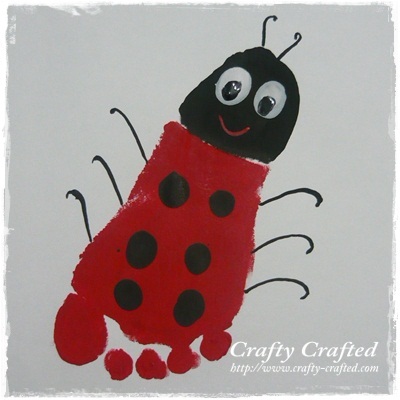
After that, we did some art activities- pulling from the footprint ideas from a previous post!  This is how ours turned out:

  
I think i'm going to add little white eyes to make them not look as scary :)  and maybe some legs for the ladybug!

Charlotte also did a painting using q-tips - I think this turned out really well! 


We are going to use this as part of an upcoming activity!  (pictured below).  You place pieces of a child's artwork behind a cut-out word!  I think it will be great as part of my husband's birthday present from Charlotte.  I think we'll do a separate piece of art for each letter.


from lovelydesign.blogspot.com

Other than that, we mostly just played and read all day!


We practiced counting in this book as well :)


Wednesday, July 27, 2011

Tissue paper fun!

Today we did this adorable art activity using tissue paper that can easilly be done with both toddlers and older kids.  It's not very messy, and best of all - it's very inexpensive!  Charlotte had alot of fun with this one.

These are the materials we used:

Pre-printed template of fish and waves
Tissue paper- 3 colors
Scissors
Glue

Before beginning our project, I used a template to draw a few waves and fish before cutting them out.  Then we ripped up a few pieces of tissue paper in three different colors.  Then, I put glue on each pre-cut shape and let Charlotte place the tissue wherever she wanted.  After all the waves and fish were fully covered in tissue paper, I trimmed up each piece with scissors and glued it all together.  Photos are below!


Here are some other ideas for things we could create using tissue paper:


Decorate initials or a monogram with tissue paper, from theimaginationtree.com


Arrange tissue paper on a page and spray with water to create this effect!  from thelittleredhen.typepad.com

Create 3D art using tissue paper!  from prudentbaby.com


Make tissue paper garland to hang around the house!  from etsy.com - pipsqueekandbean


Make window decorations out of tissue,  from filthwizardry.com

We could create lanterns out of recycled jars and tissue paper!  from picklebums.com
And finally, we could try creating a mural using tissue paper.  from thecraftycrow.net

We definitely have some tissue paper left over, so I'm sure we'll try a new project in a few weeks!


Monday, July 25, 2011

Little hands and feet

When my daughter was in daycare, some of my favorite days were when she came home with a keepsake craft with those precious little hand prints!  They make great gifts for family members as well as adorable little pieces of art to hang on the wall.  I was very inspired by this picture of a tree with multi-color hand prints!

  from cleanandscentsible.blogspot.com

We made our own tree art using a pre-printed tree outline.  Instead of hand prints, we used Charlotte's thumb prints!  I helped guide the thumb print placement for the first picture.  Then, I gave Charlotte her very own tree and let her create her own masterpiece.  They turned out really well!  


 Here are some other ideas for fun handprint and footprint crafts from around the internet that we'll have to try soon:


A wedding thumbprint guestbook, but I love this idea for kids too!  from sidebysideblog.blogspot.com


Sweet and simple, from ohdeedoh.com

So cute and creative!  from dailydoseofsugarmama.com


How adorable is this penguin made from a tiny footprint! We'll do this in the winter.  from meetthedubiens.blogspot.com


 from crafty-crafted.com

 From projectbalancingact.smugmug.com

We will definitely be trying this one for Halloween.  from bedifferentactnormal.com


I could get everyone to try this one!  from tresfrenchhens.blogspot.com

Saturday, July 23, 2011

Fun on the Fourth!

One of the things that I really wanted to start doing this year is make sure that we do fun activities to celebrate holidays together as a family.  For the Fourth of July, Charlotte created really cool sand art.  The set-up was really easy and it was a lot of fun!  I got two salt and pepper shakers at the grocery store and placed masking tape over most of the holes.  Then I filled them with two different colors of sand!  We used spray adhesive as a way to keep the sand on the paper.  After Charlotte created her artwork, I cut some of the paper and mounted it onto a piece of construction paper.


She loved the texture of the sand


cute!


Another activity that we did together was create watermelon star pops.  First, I cut up a watermelon into large enough slices to fit the star-shaped cookie cutter.  Then, I gave Charlotte the slices one by one and let her cut out the stars!  After that, I put popsicle sticks at one end of each star and put them into the freezer.  They tasted good, but Charlotte prefers regular watermelon. :)